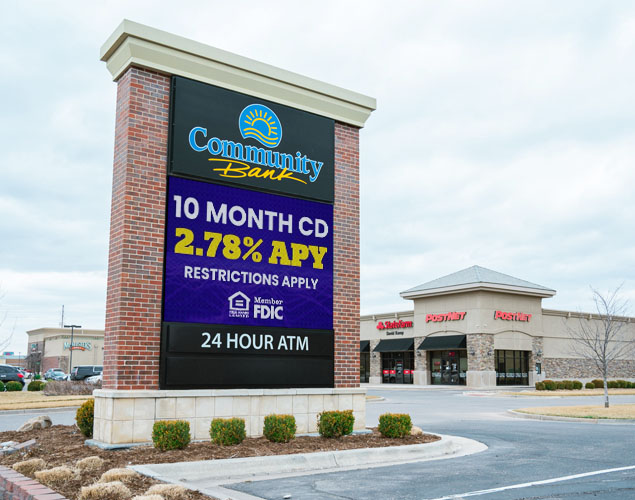
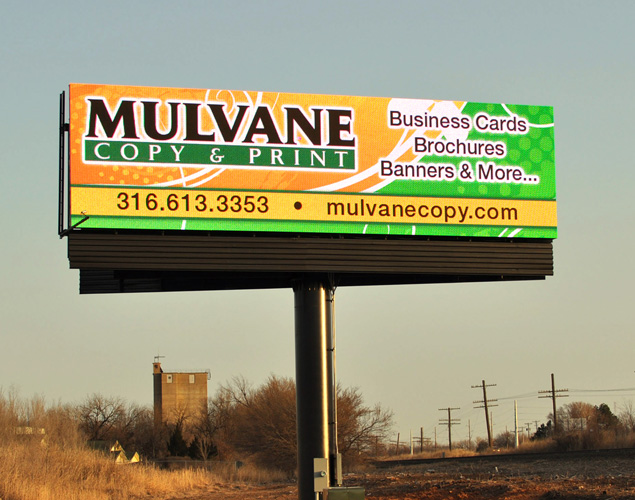
Creating an LED sign is a detailed process that requires meticulous planning, design, production, and implementation. Each phase is critical to ensuring the final product meets expectations, performs reliably, and delivers maximum impact. This guide walks you through the lifecycle of an LED sign project—from the initial concept to final installation and long-term maintenance.
The Lifecycle of an LED Sign Project
1. Conceptualization: Laying the Foundation
Client Meetings and Briefing
The journey begins with an initial consultation to understand the client’s goals and vision. Key steps include:
- Identifying Objectives: Determining the purpose of the LED sign, whether for advertising, wayfinding, or enhancing experiences in venues.
- Defining Specifications: Establishing size, resolution, brightness, and content requirements.
- Budget and Timeline: Setting a budget and timeline to align with client expectations and project feasibility.
Site Assessment
A thorough site assessment ensures optimal placement and functionality:
- Installation Location: Evaluating visibility and impact based on audience placement.
- Environmental Considerations: Addressing weather conditions, ambient lighting, and structural needs.
- Electrical and Structural Needs: Planning for power supply, mounting options, and modifications to support the LED sign.
2. Design and Development: Shaping the Vision
Conceptual Design
Once the parameters are set, the design phase begins:
- Conceptual Sketches: Initial sketches and digital mockups visualize the sign’s appearance and functionality.
- Client Feedback: The designs are refined based on client input to ensure alignment with their vision.
Technical Specifications and Engineering
Detailed engineering ensures the design is feasible and functional:
- Display Layout: Configuring LED panels for seamless integration.
- Content Management Systems (CMS): Planning the tools needed for content creation, scheduling, and updates.
- Structural Engineering: Ensuring the design supports the sign’s weight and withstands environmental challenges.
Final Design Approval
After incorporating feedback, the final design is approved:
- Blueprints and Drawings: Preparing technical documents for manufacturing.
- Client Sign-Off: Final approval ensures the project aligns with expectations.
3. Manufacturing and Quality Control: Building the Vision
Component Sourcing
High-quality materials are essential for durability and performance:
- LED Chips and Modules: Selecting components with optimal brightness, color accuracy, and longevity.
- PCBs and Controllers: Ensuring reliable and efficient systems for managing the display.
Assembly
Precision is key during assembly:
- Soldering and Mounting: Assembling LED chips onto PCBs with accuracy.
- Enclosure and Weatherproofing: Adding protective measures for outdoor durability.
Quality Control
Each component undergoes rigorous testing:
- Functional Testing: Checking for dead pixels, color consistency, and overall functionality.
- Calibration: Ensuring brightness and alignment are uniform across the display.
- Reliability Testing: Simulating real-world conditions to verify durability.
4. Installation: Bringing the Vision to Life
Site Preparation
Preparing the location involves structural modifications, electrical setup, and safety checks to ensure a smooth installation process.
Mounting and Configuration
- Precise Installation: The LED sign is mounted securely and aligned for optimal visibility.
- Testing and Integration: Display settings are configured, functionality is tested, and the system is integrated with the CMS.
5. Maintenance: Ensuring Longevity and Performance
Regular Inspections
Periodic checks identify and address potential issues, ensuring the display performs as intended.
Cleaning and Upkeep
Routine cleaning keeps the display bright and visually appealing, while weatherproofing ensures durability in outdoor environments.
Software Updates
Keeping the CMS updated ensures compatibility with new content formats and features, enhancing the display’s longevity.
Why Each Phase Matters
Every stage of an LED sign project—from conceptualization to maintenance—is crucial to delivering a product that meets expectations and performs reliably. Here’s why:
- Conceptualization ensures alignment with client goals.
- Design and development lay the groundwork for technical feasibility.
- Manufacturing guarantees quality and durability.
- Installation brings the vision to life with precision and care.
- Maintenance ensures the sign remains a valuable asset for years to come.
Key Takeaways for Successful LED Sign Projects
- Plan Meticulously: Engage clients early to define clear objectives and specifications.
- Prioritize Quality: Source premium materials and conduct rigorous testing at every stage.
- Ensure Precision: Execute installation with care to optimize functionality and visibility.
- Commit to Maintenance: Regular upkeep is essential for preserving performance and appearance.